I’ve had a couple roadblocks thrown in the way of layout progress these past few weeks. This blog is powered by WordPress software and that’s where my first trouble came. Several times a year the WordPress folks release an update to the software. I have dutifully downloaded these updates and completed the upgrades without a hitch . . . rather painlessly, in fact. The latest release wasn’t so friendly to my installation. In short order, it trashed the blog site. If any of you attempted to visit during this time, you were met by a blank page (if anything at all). Fortunately I had a recent back-up of the site. But I had never actually done a restore before, and I had quite a learning curve to get it all sorted out. After many hours spread over a couple of days, I finally got things restored back to the pre-upgrade state. I think I’ll hold off upgrading the site for a period of time, at least until the next minor upgrade is released. Hopefully that upgrade will work a bit more smoothly. At any rate, I’ll make a back-up immediately prior to the upgrade attempt, and if things fail again, at least I’ll have the knowledge and experience to get the site back on line within just a few hours.
Hurdle number 2: Literally the day after I got the blog restored, my desktop PC went down. Now, this is the PC that I depend on; all others are mere toys and conveniences (like, for running model railroad software). I had been experiencing a couple symptoms that something was awry for several weeks, but didn’t expect this. While not conclusive, the evidence is pointing to a failed hard drive. And naturally, I haven’t been able to find a new hard drive (of the size, type and style that I wanted) anywhere in town. So off to the internet, where I found the prize in short order and followed up with a purchase. It finally arrived this morning, but it’ll be a couple of days before I’ll have a chance to install and format it. Then I must install the operating system and the jillion programs, data items, photos, etc., etc. Fortunately here also, I have a fairly recent backup of all data, so once the programs are installed, the data will be there. The success of this however, depends on my assumption that the problem is indeed the hard drive. I’m formally requesting all readers to cross their fingers and toes.
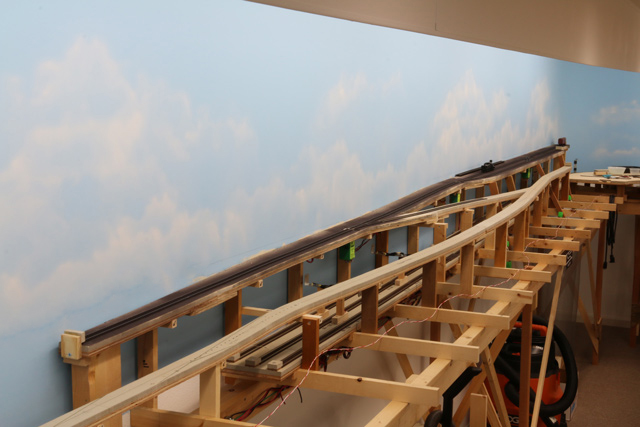
Despite all this, some progress still ensued on the layout. I’ll have an update on that in my next post.
-Jack