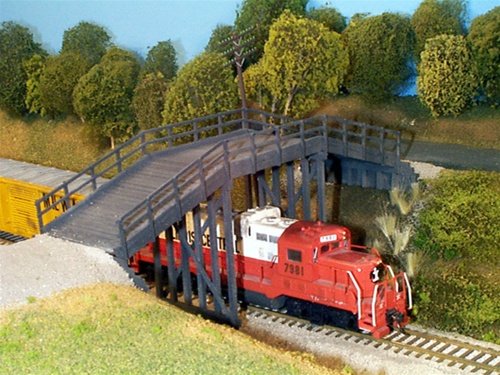
I’ve rambled about assembling a big mess of car kits in the last couple posts here and here, and I’ve mentioned something about assembling a Rix Rural Timber Overpass kit. Here’s the manufacturer’s photo of that structure:

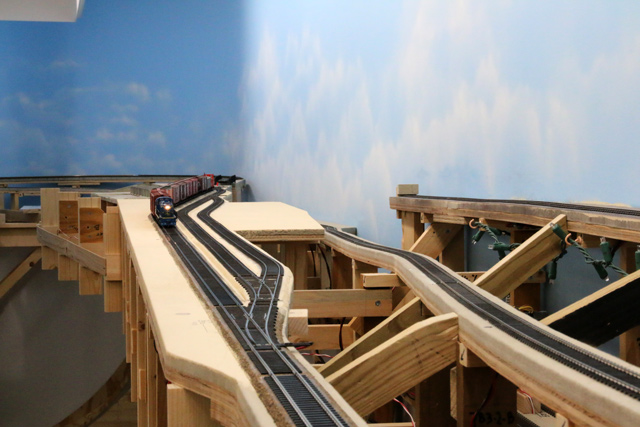
I’ve finished building the kit and it is waiting for paint. I’ve also been working on the supporting benchwork for the bridge and I’m close to fitting it into it’s final resting spot. The section of mainline where this will reside is just a bit west of Willis. I’m hoping to catch the feel of the Canadian National (formerly Illinois Central) mainline in south Brookhaven, Mississippi. There the mainline enters a stretch where it’s running in a cut in the terrain. At the middle of this stretch is an old timber roadway overpass, not unlike the Rix kit. The prototype bridge is a bit longer than the model, as it crosses what was once a double mainline, but the kit still captures the flavor of the structure. I’ve always liked that bridge and hope to make this one of the signature scenes on the layout.
As for the car kits, I’ve slowed down a bit on that. I’ve completed about 30 kits, which sounds like quite a few, but is small relative to the number of kits remaining (something approaching 300).
I’ve got all the material on hand to commence conversion work on all those code 70 Shinohara switches. I’ve just got to muster up the motivation to get started with all those re-buildings (one of the few things that I don’t particularly want to do). Unfortunately, the local folks around here haven’t recognized that this is potentially one of the next great model railroads. As such, no one is beating a path to the door for the chance to become involved in its construction (a sorry state of affairs).

Oh, I’d like to acknowledge the superior customer service that I’ve received from Accurail. While assembling a large stack of their kits, I came across a couple that had significantly rusted up screws (used for attaching the trucks and draft gear box covers). I contacted Accurail and they immediately sent replacement screws . . . not the eight that I’d requested, but a bag of 100. Within a few days of my initial contact, I had product in hand. Now that’s service! And those extra screws have come in handy for some of the older kits. Those older kits utilize a molded pin on the draft gear box cover which holds the cover on by friction. I’ve modified several of these kits by cutting off the pin and drilling a hole at that location. I then used a screw to attach the cover, greatly increasing accessibility in the event maintenance is required.
As always, comments are welcome and visits are allowed (just drop a line).
-Jack


