
| |
Louisiana Central Railroad Company |
          |
 |
 |
 |
 |
||
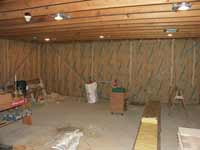
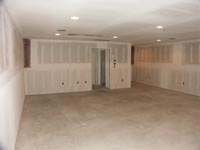
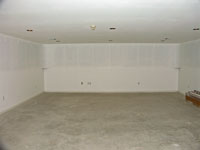
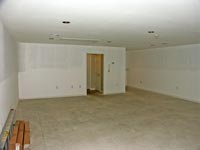
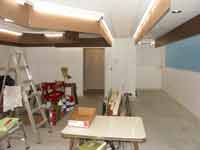
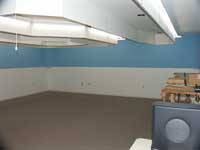
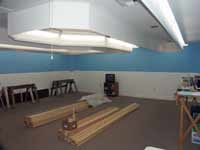
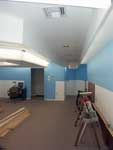
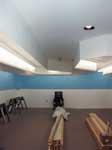
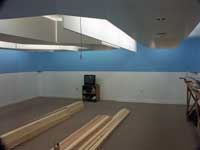
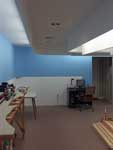
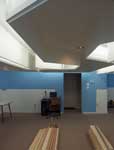
| View of the new train room from the room entrance. | In this view, we've
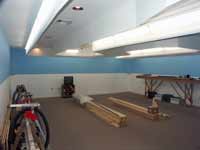
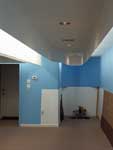
moved left of the room entrance. The sheet rock pile is waiting! |
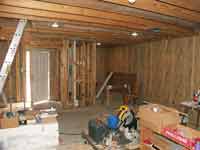
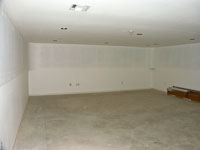
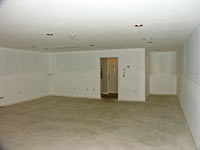
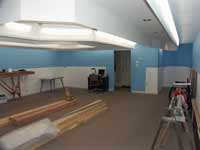
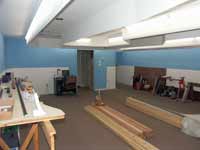
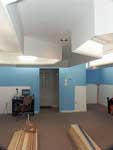
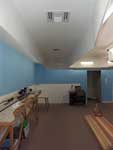
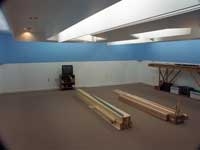
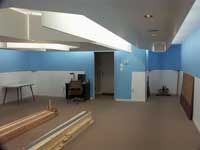
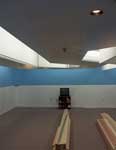
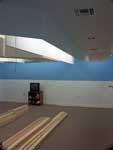
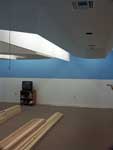
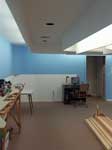
Moving forward to the opposite end of the room and looking back toward the entry. | And finally, we've moved left to the other corner, still facing toward the entry. |
 |
 |
 |
 |
||
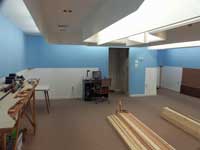
| View of the new train room from the room entrance. | In this view, we've moved left of the room entrance. | Moving forward to the opposite end of the room and looking back toward the entry. | And finally, we've moved left to the other corner, still facing toward the entry. |
 |
 |
 |
 |
||
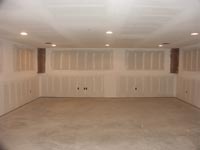
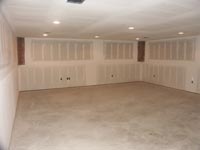
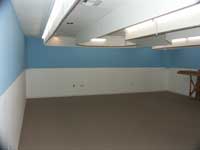
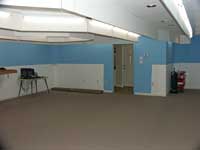
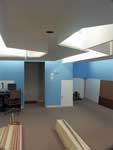
| Here's the same view as in the first photo above, after priming and painting. | Here's the same view as in the second photo above, after priming and painting. | Here's the same view as in the third photo above, after priming and painting. | And finally, here's the same view as in the fourth photo above, after priming and painting. |
 |
 |
 |
 |
||
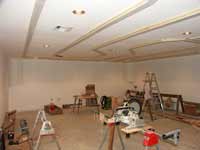
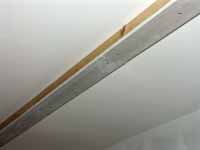
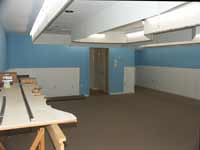
| Here's a shot of the 2x4 stripping that will be used to attach the valences and light strips. | Here's a view from the other end of the room. The can lights are over the (future) aisles. | The return loop of the stripping is over the orb at the end of a peninsula of the layout. | And finally, here's a close up view of the 2x4 / gypsum board assembly prior to priming and painting. | ||
 |
 |
 |
 |
||
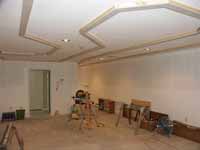
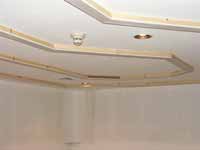
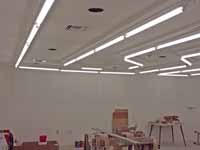
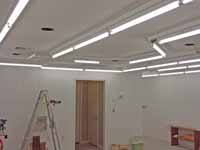
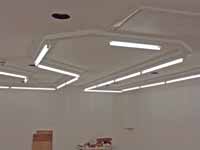
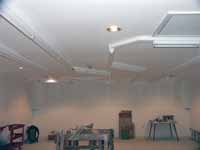
| And here is what the lighting looks like. This view is from roughly the same vantage point as the shot above. | And the view from the other end of the room. There is no doubt that the can lights won't be needed during layout operations! | Here is one of the return loops over an orb at the end of a peninsula of the layout. | This last photo shows the strip fluorescents off and the can lights on. Valences will be installed next. |
 |
 |
 |
 |
||
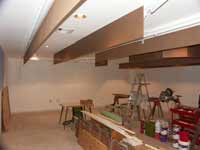
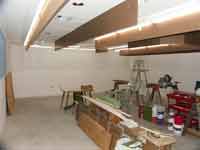
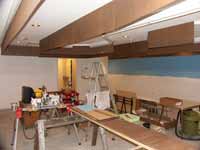
| The valence work has started. These panels will border the entire layout when finished. | Here's a view taken again from the same place with the fluorescent lights on. I'm standing where benchwork will be; the "dark" area is the aisle. | And the view from the other end of the room. Each panel was trimmed to match the end of the adjacent panel. | And here is one last view looking toward the building entrance. I'll take the panels down after completion to facilitate painting them. | ||
 |
 |
 |
 |
||
| Back to our starting corner for the first shot of the painted panels reinstalled. Note also that the carpet has been installed. | And now looking back toward the building entrance. As you can see, the backdrop now has a coat of Sky Blue paint. | The next step is to trim out the panels. There will also be some short view block panels running down the center of each peninsula. | And one final view of the new valence. The planned view blocks will be at the ceiling to shield the view of lamps from the opposite side of the peninsula. |
 |
 |
 |
 |
||
| Beginning at my usual
starting point, here is a look at the completed valence. |
And here's the view
from the opposite end of the room. |
Moving to the left, I'm
standing where bench work will eventually be to show a broader area. |
And here I've moved to
the opposite end to show the view from the fourth corner of the
room. |
||
 |
|
|
|
||
| Back to the same corner
as the second photo above, but moving over into the aisle to give a
more typical view of the lighting. |
Moving a bit to the
left, we can see the center aisle through the soon- to-be-constructed layout. |
And now I've moved even
further over to the far corner. |
And one final look at
the new valence. This view is also of the center aisle, viewed
from the doorway. |
 |
 |
 |
 |
||
| Again, back to our
usual starting point, here is a look at the completed valence with
the view blocks installed. |
And here's the view
from the opposite end of the room. Note the view block hanging
within the center of the peninsula. |
Moving left to the far corner of the room, the view block can be seen within the peninsula to the right. | And again I've moved to
the opposite end to give the view from the fourth corner of the
room. |
||
 |
|
|
|
||
| This is the view of the
center aisle from the doorway into the room. |
Moving to the corner at
the right. |
And now a view from the
opposite end of the room. |
This view is again of
the center aisle, but facing the doorway. |
||
 |
 |
 |
 |
||
| Now moving a bit to the
right. This aisle is the longest on the layout. |
This is the same view
as the picture above, but the down lights over the aisles are turned
off. |
Again, a similar view
as that above with the down lights turned off. |
And one final view of
the room with the down lights turned off. |
| © 2006-2019 Jack C. Shall - All rights reserved. | Last page update: 23 Jan 2019 |