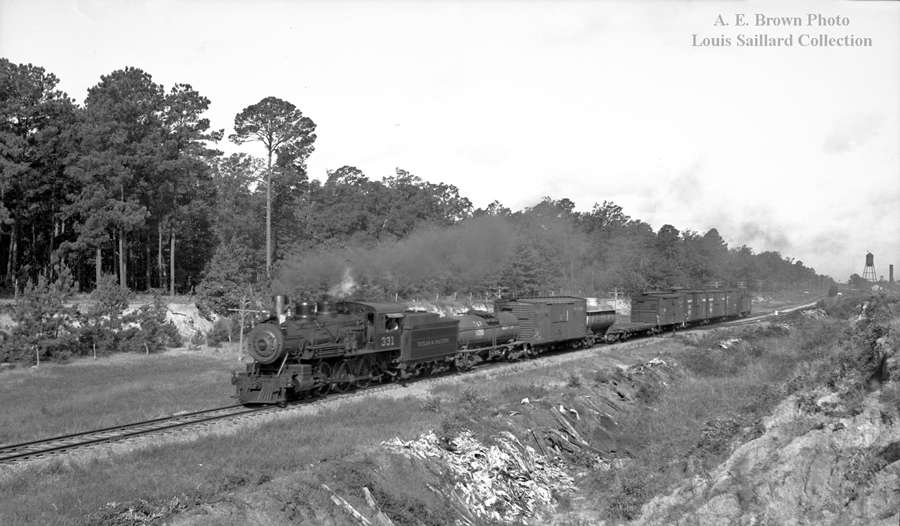
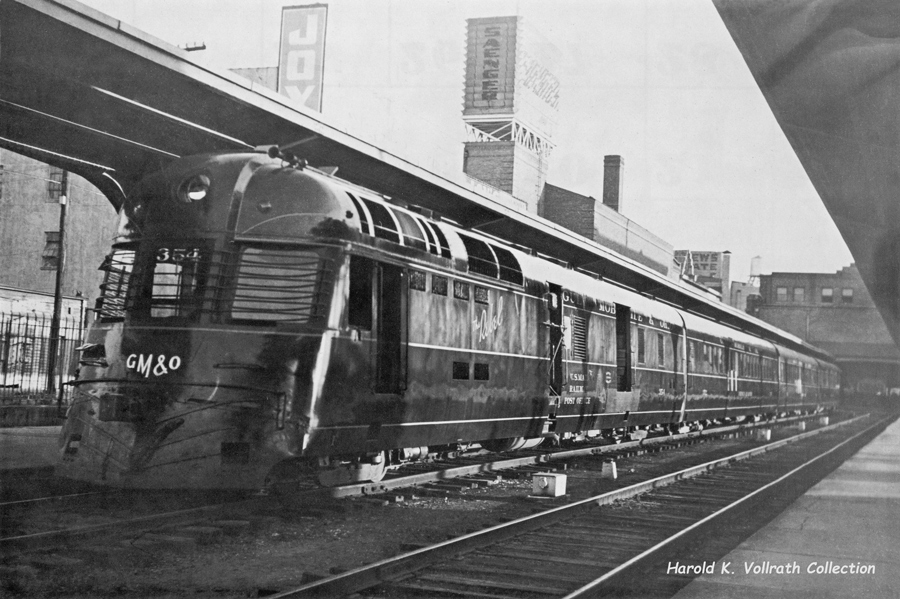
Several weeks ago I posted a photograph of Texas & Pacific steam locomotive #331. The locomotive was a Class D-9 built by A.L. Cooke in May of 1903, and the image was taken in 1939 with the locomotive shown in its as-built condition. Most of the Class D-9s were upgraded in later years, but I found no evidence that the #331 received those upgrades.
Her sister locomotive, the #332, however did receive those upgrades. The photograph below is undated, but shows how she looked after receiving piston valves and new outside valve gear. She also got a new headlight mounted on the smokebox front, and “stairs” from the pilot deck up to the running boards.
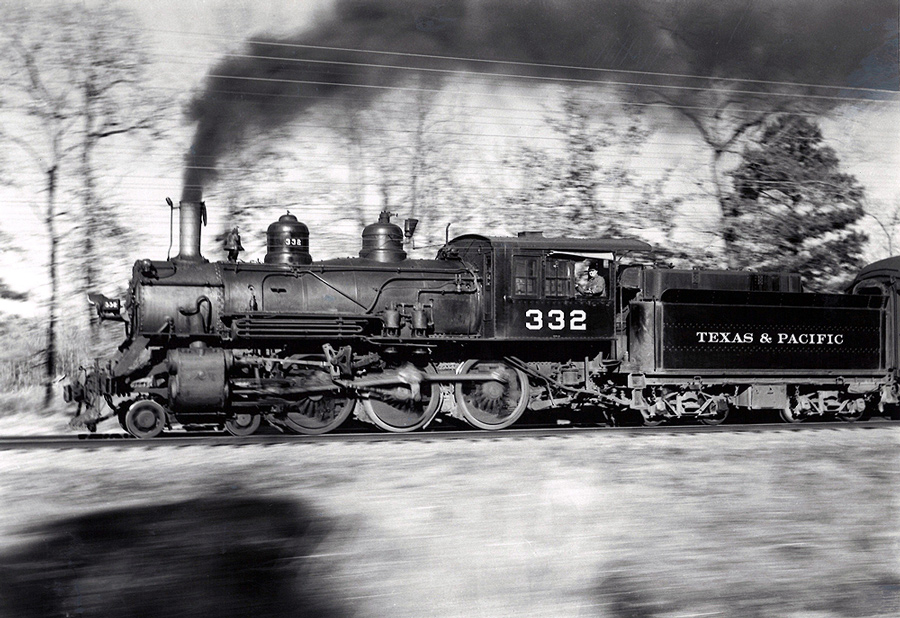
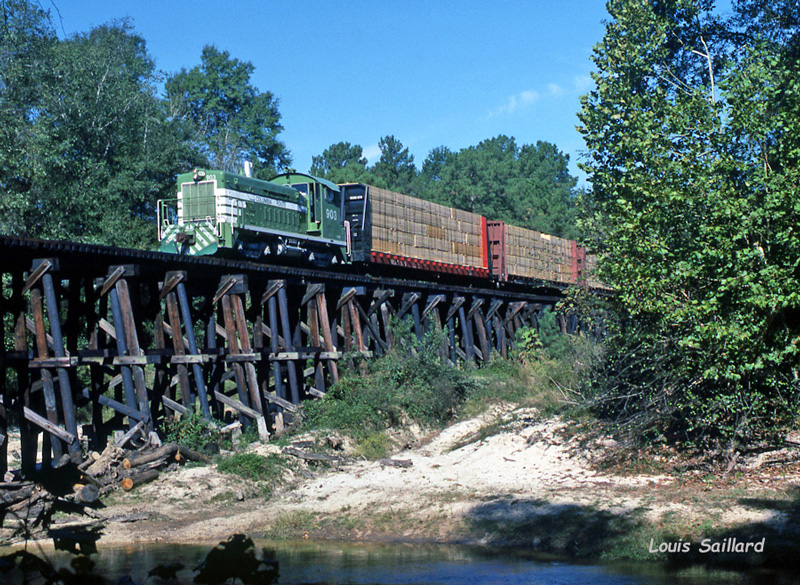
I really like this shot, apparently taken while pacing the train. The blurred foreground and trees in the background really give the locomotive a sense of speed.
Unfortunately the photographer of this great scene is unknown.